MacBooks are equipped with sophisticated sound settings to cater to different user environments, whether you’re working in a quiet office or a bustling cafe. Knowing how to manage these settings effectively is essential for maximizing focus and minimizing distractions. This guide will provide you with detailed steps on turning the ringer off on your MacBook, exploring alternative methods, and troubleshooting any sound issues you might face.
Navigating Sound Preferences on Your MacBook
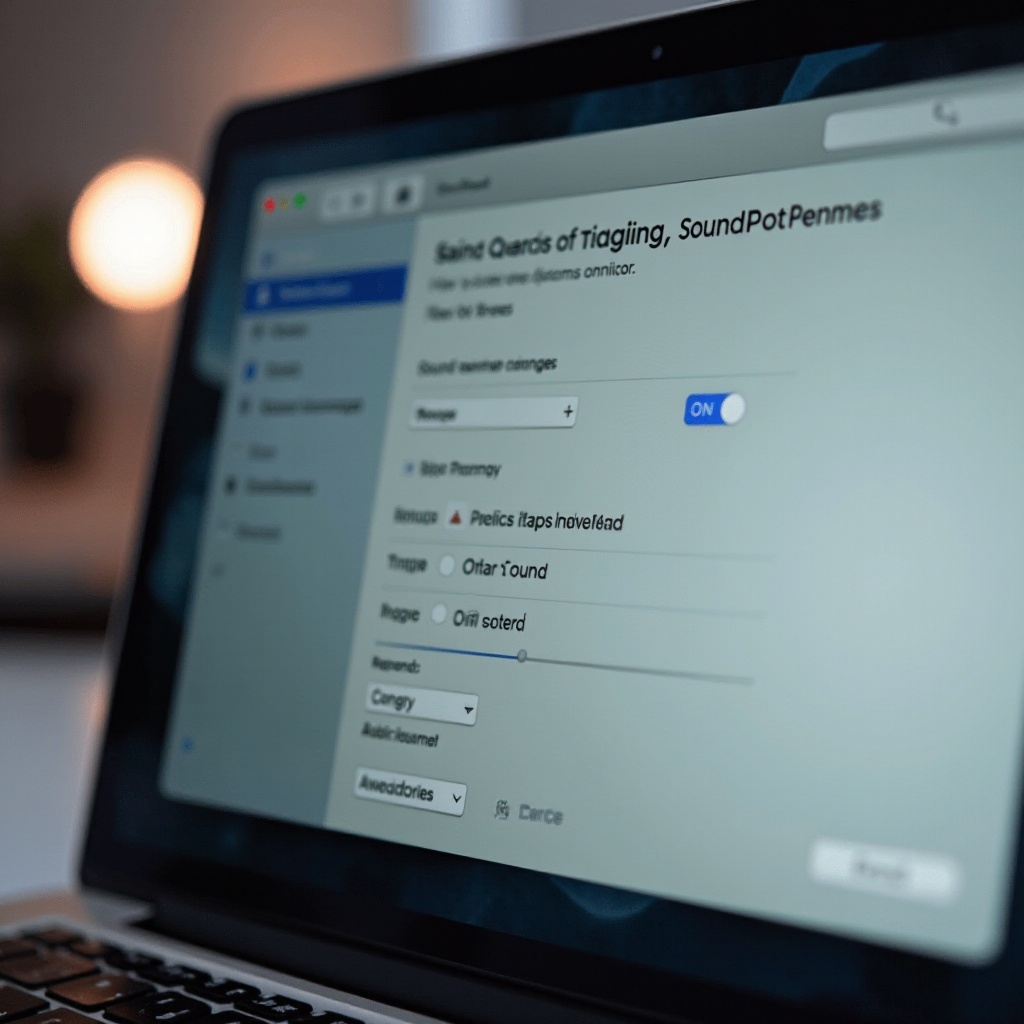
Before delving into specific methods, it’s important to understand the sound preferences available on your MacBook. Start by accessing the main sound settings:
- Click the Apple icon at the top-left corner of your screen.
- Select ‘System Preferences’ from the dropdown menu.
- Choose ‘Sound’ to open the sound settings panel.
With the sound preferences menu open, you can oversee and modify various sound-related features that your MacBook offers, ensuring you have complete control over your sound environment. This foundational understanding will be indispensable as you follow the next steps to disable the ringer.
Step-by-Step Guide to Disabling the Ringer
With the sound settings panel ready, follow these steps to turn off the ringer:
-
Use the Volume Control: To quickly mute your MacBook, use the F10 key on your keyboard to mute or F11 to reduce the volume to the lowest level.
-
Mute Notifications: Within the ‘Sound’ panel, make sure to uncheck the ‘Play sound effects through: Built-in’ option to silence all notification sounds.
-
Adjusting Alert Volume Settings: Ensure the ‘Alert volume’ slider is moved all the way to the left, minimizing all alert sounds.
These straightforward actions enable you to effectively silence your MacBook, providing uninterrupted use whether you need complete silence or moderate sound settings.

Alternative Methods for Sound Management
In addition to the basic settings, there are other efficient methodologies for managing sound on your MacBook:
-
Keyboard Shortcuts for Quick Access: For immediacy, use Command + Volume Down or Command + Mute for direct sound control without opening any menus.
-
Leveraging Terminal Commands: For advanced sound adjustment, open the Terminal application and input commands like
sudo nvram SystemAudioVolume=%80for a more direct manipulation of system alert volumes.
These alternative strategies are beneficial for users looking for quick sound adjustments or those preferring more technical approaches to sound management.
Troubleshooting Sound Issues
Despite best efforts, sound glitches may occasionally occur. Here are solutions to address common sound issues effectively:
-
Common Problems After Software Updates: After system updates, sound settings might reset automatically. Double-check your settings in ‘System Preferences’ to ensure they’re set according to your preferences.
-
Fixes for Volume Control Malfunctions: If volume adjustments aren’t responding, a simple restart of your MacBook can often resolve these issues by refreshing the software processes.
Resolving sound issues promptly is integral to maintaining seamless MacBook usability. Understanding and applying these simple troubleshooting steps ensures efficient sound management and uninterrupted device operation.

Conclusion
Optimizing your MacBook’s sound settings is more than just a technical exercise; it’s about creating a work environment that is tailored to your needs for productivity and peace. Whether using system preferences or employing shortcuts, customizing your MacBook’s ringer and notifications settings enhances your experience and productivity. Explore and adjust your Mac settings until they perfectly meet your personal or professional demands.
Frequently Asked Questions
How do I silence notifications for specific apps on my MacBook?
To silence notifications for specific apps, open ‘System Preferences,’ click ‘Notifications,’ select the app, and customize its alert settings.
Can I use third-party apps to control sound settings more effectively?
Yes, third-party apps like Boom 3D and SoundSource can provide enhanced sound control features beyond the native settings available on your MacBook.
How do I restore sound settings to default on my MacBook?
To reset sound settings to default, navigate to ‘System Preferences,’ go to ‘Sound,’ and confirm that internal speakers are selected, adjusting volume to original levels.