Introduction
Samsung Chromebooks offer both durability and user-friendly features, making them popular among users. However, when screens get damaged or cease to function properly, it can greatly disrupt usability. This comprehensive guide aims to assist users through the process of screen replacement on their Samsung Chromebook, ensuring safety and restoring full functionality.
Why You Might Need to Replace Your Chromebook Screen
Experiencing screen issues can lead to a frustrating user experience. Common reasons to replace the screen include visible cracks from accidents, persistent dead pixels, or color distortion impeding screen readability. Addressing these issues promptly through replacement helps maintain your device’s usability and prevents further deterioration.
Understanding why a screen replacement is necessary prepares you for the next critical step—preparation.
Preparing for the Screen Replacement
Effective preparation is crucial for a seamless screen replacement. Here’s a breakdown of what you’ll need to do:
-
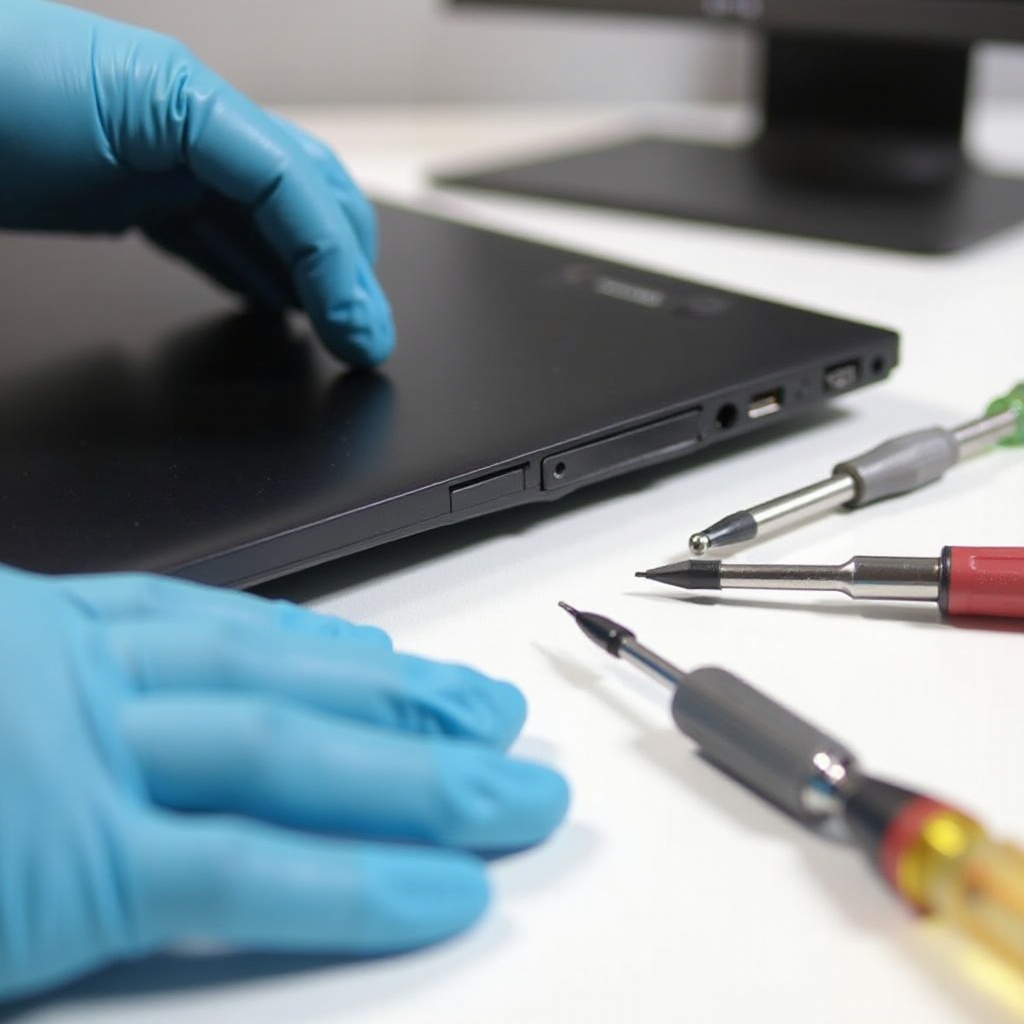
Essential Tools for Replacement:
Gather all required tools: precision screwdrivers, a plastic opening tool, gloves, and a soft cloth. Ensure that you have a compatible replacement screen ready. -
Safety Precautions:
Begin by powering off your Chromebook and unplugging it from any power source. This prevents electric shock during the process. Additionally, wear gloves to avoid static discharge. -
Selecting the Right Replacement Screen:
Confirm the replacement screen is compatible with your Chromebook model by checking specifications like size, connection type, and resolution. Compatibility checks prevent installation issues and future malfunctions.
Equipped with the necessary tools and precautions, you are ready to tackle the step-by-step replacement process.
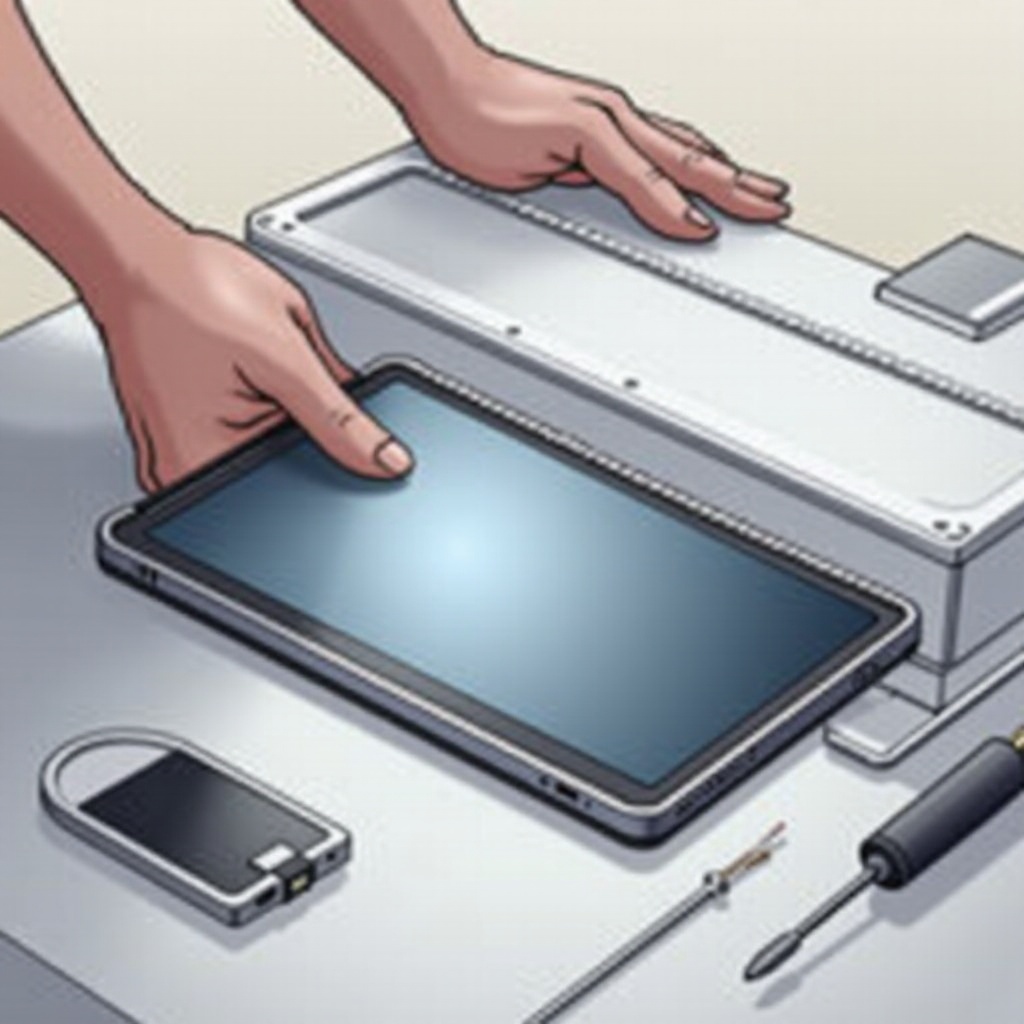
Step-by-Step Guide to Replacing Your Samsung Chromebook Screen
Replacing the screen is straightforward if you follow these steps:
- Removing the Damaged Screen:
- Ensure your Chromebook is fully powered off.
- Use a screwdriver to remove screws from the bezel around the screen.
-
Utilize the plastic opening tool to carefully detach the bezel, exposing the screen.
-
Installing the New Screen:
- Carefully disconnect cables connecting the old screen from the motherboard.
- Connect the replacement screen cables securely before placing it into the frame.
-
Reattach the bezel, ensuring it snaps into place, and fasten screws securely.
-
Ensuring Proper Connectivity:
- Double-check connections and fit before powering on.
- Test the screen for clear visuals and proper response.
With these steps, the new screen should function correctly, allowing you to enjoy a restored display. Now, let’s explore how to ensure a successful screen replacement.
Tips for a Successful Screen Replacement
Following these tips will ensure your replacement process goes smoothly:
-
Common Errors to Avoid:
Handle the screen carefully, using gloves to avoid fingerprints or smudges. Avoid applying excessive force when removing or reinstalling parts. -
Post-Replacement Testing and Calibration:
Confirm image quality and adjust settings for brightness and color to align with your preference. Regular testing prevents post-installation issues.
By implementing these tips, you maximize the longevity and success of your Chromebook’s screen replacement. Let’s conclude with final thoughts.

Conclusion
Replacing your Samsung Chromebook screen is an empowering task if approached methodically. By following this guide, you not only restore your device’s functionality but also gain a deeper understanding of its maintenance. Remember to proceed with caution, ensuring each step is completed thoroughly.
Frequently Asked Questions
How do I know if my Samsung Chromebook screen needs replacement?
If your screen shows cracks, color issues, or dead pixels affecting visibility, it likely needs replacing.
Can I use a screen from another Samsung Chromebook model?
Screens aren’t universally compatible. Ensure the replacement screen matches your model’s specifications to avoid installation issues.
What should I do if the new screen doesn’t work properly after installation?
Reinspect all connections and settings. If problems persist, consider seeking professional help for further diagnostics.