Introduction
Connecting a PlayStation controller to your Nintendo Switch might seem daunting, but it’s a game-changer once you know how. PlayStation controllers offer ergonomic designs and intuitive button layouts, enhancing the overall gaming experience on the Switch. Exploring this compatibility unlocks the potential for more enjoyable gameplay with increased comfort and precision.
Mastering device compatibility requires some setup knowledge and troubleshooting, empowering players to enjoy their games seamlessly. By following this guide, you’ll be able to configure your devices and fully appreciate the benefits of combining these gaming platforms.
Benefits of Using a PlayStation Controller on Switch
Utilizing a PlayStation controller with your Switch offers several advantages, particularly in comfort and control. The ergonomic design allows for extended gaming sessions without fatigue, vital for those long playthroughs or multiplayer marathons. The button layout of the PlayStation controller is designed for precise action, making it a preferred choice for many gamers.
The familiarity of the PlayStation interface is another key benefit, ensuring smooth transitions for players accustomed to Sony’s hardware. This cross-platform solution enhances the gaming experience by leveraging this familiarity and ergonomic design, making understanding compatibility requirements the next step.
Compatibility Requirements
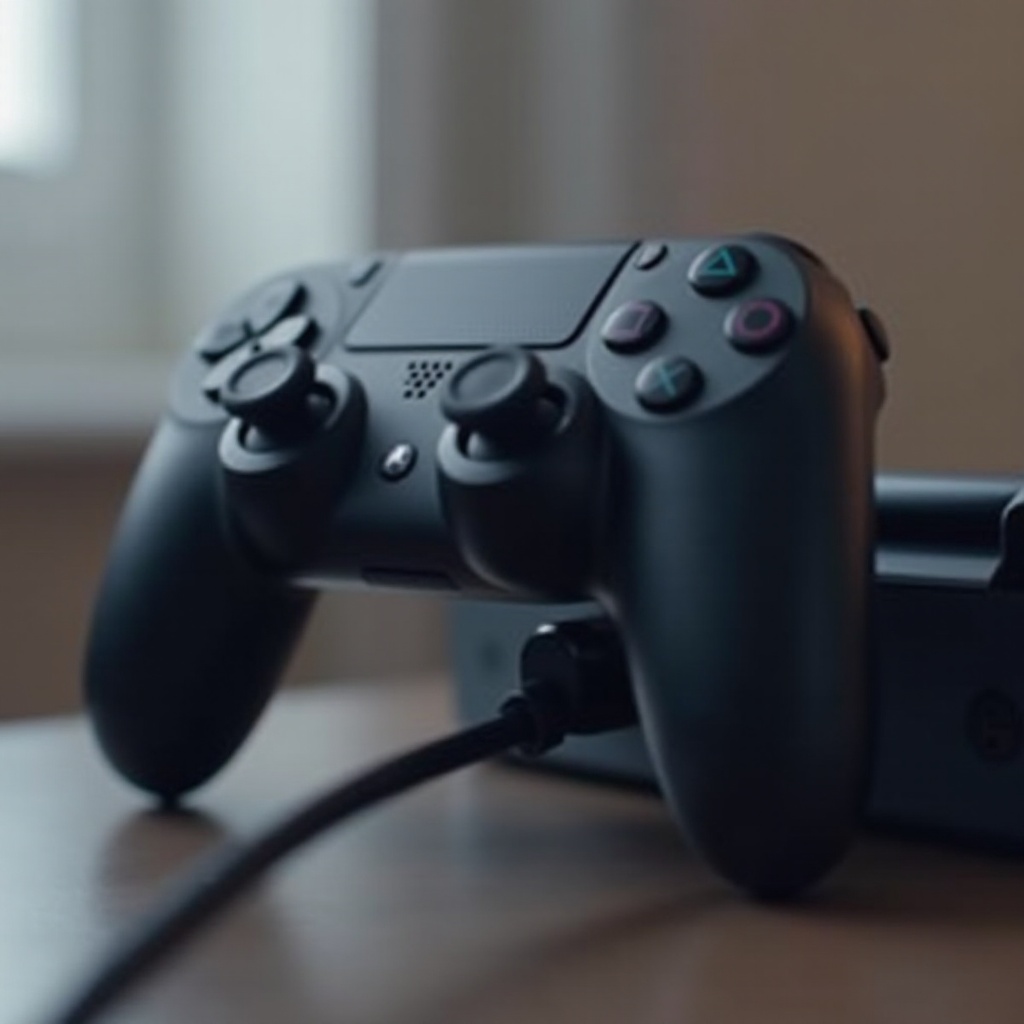
Before connecting your PlayStation controller, check your Switch firmware is up to date, as updates can optimize compatibility. A Bluetooth or USB adapter is essential, bridging the technological divide between these devices. Carefully selecting a reliable adapter is crucial as it provides consistent performance, minimizing the risk of disconnection or lag.
Equipped with an adapter and updated firmware, you’re set to follow the steps to connect the PlayStation controller seamlessly. Let’s proceed with the detailed setup instruction.
Step-by-Step Guide to Connecting Your PlayStation Controller
- Installing Third-Party Software: Some controllers may need additional software to communicate with the Switch effectively. This software often auto-configures settings for ease.
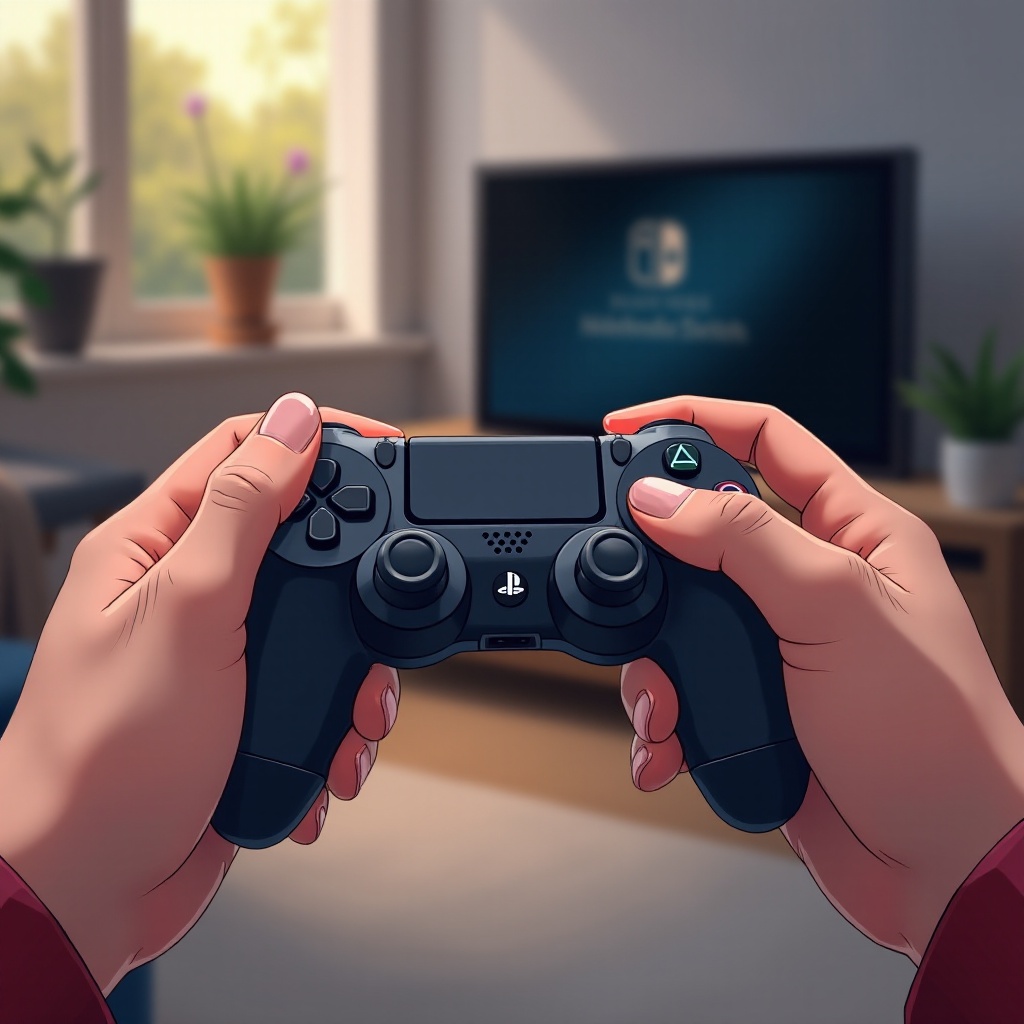
- Configuring Connection Settings: Access the Switch’s settings menu, activate Bluetooth, and make your device discoverable.
- Bluetooth Pairing Process: Set the PlayStation controller into pairing mode by holding the share and PS buttons. Then, search and select the device within the Switch’s Bluetooth settings.
After completing these steps, your controller should be operational. If you encounter issues, the next section offers troubleshooting strategies to resolve them effectively.
Troubleshooting Common Issues
Despite thorough connection efforts, issues can occasionally arise. Addressing these with confidence ensures your gaming isn’t disrupted.
1. Resolving Connectivity Problems: Make sure the controller and adapter are close to the Switch. Reduce interference from electronics nearby to stabilize the connection.
2. Addressing Latency Concerns: Check for system updates that could improve connection speeds. Adjust settings in third-party software to optimize responsiveness.
3. Quick Fixes for Performance Glitches: Resetting the controller can solve minor issues. This involves pressing the reset button near the L2 using a pin.
Once troubleshooting is complete, customizing your gameplay experience is the next exciting phase.
Customizing Your Gameplay Experience
Adapting a PlayStation controller allows for personalized gaming experiences with the help of customization features.
– Button Mapping Options: Many adapters come with software for remapping buttons, letting you customize control schemes for maximum comfort.
– Adjusting Vibration Settings: Fine-tune vibration through third-party software for a more immersive experience.
Customizing settings helps ensure the controller feels intuitive, working perfectly for your style of play. Understanding these features and differences between controllers can enrich your gaming even further.
Key Features and Differences Between Controllers
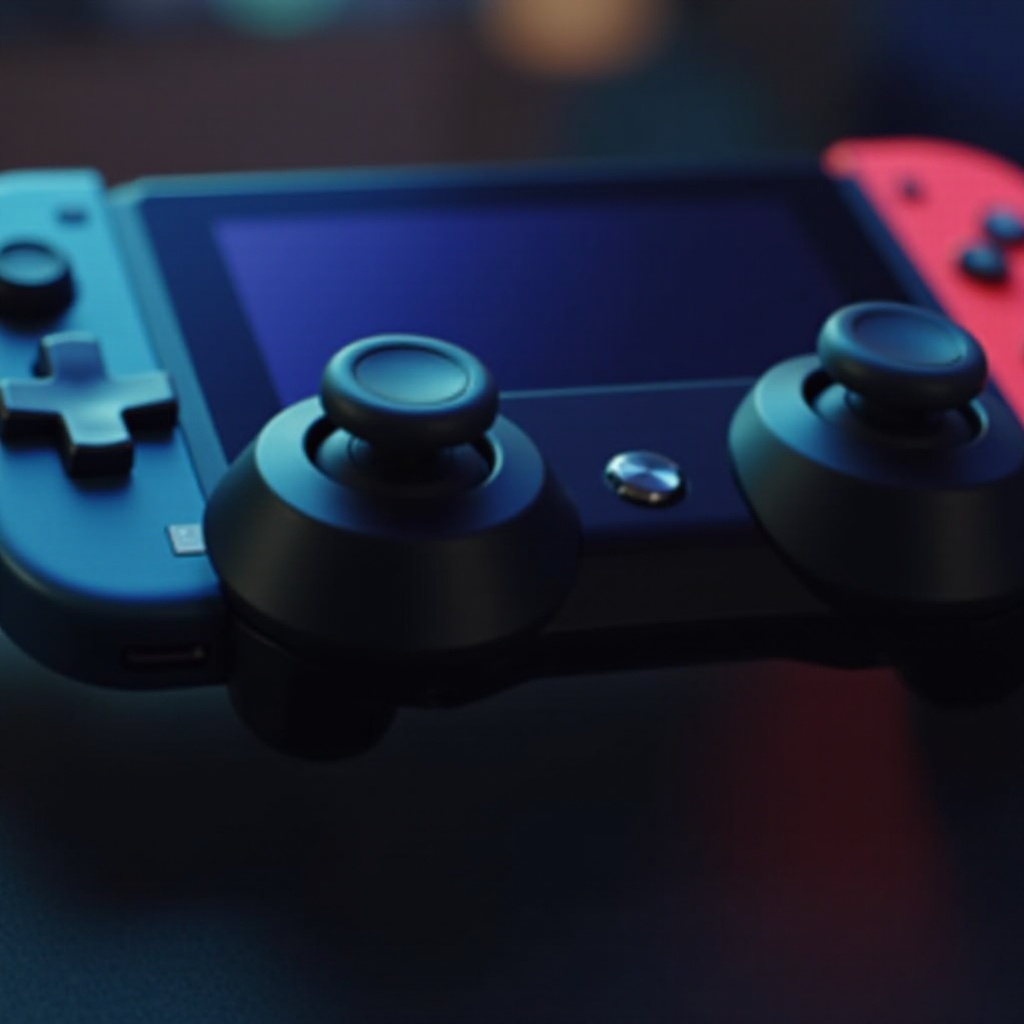
The main differences between PlayStation controllers and Switch Joy-Cons lie in design and functionality. PlayStation controllers boast powerful analog sticks and sensitive button presses, offering precision. Joy-Cons, however, are notable for portability and ease of use.
Choosing the right controller can transform your gameplay, aligning with your personal preferences and enhancing the overall experience. As you’ve seen, transitioning to a PlayStation controller opens up new possibilities. Let’s conclude with the final insights and FAQs.
Conclusion
Switching to a PlayStation controller for your Nintendo Switch can elevate your gaming to new heights with improved comfort and control precision. Equipped with the knowledge from this guide, gamers can confidently navigate setup, resolve connectivity troubles, and customize their gaming experience to perfection. Unlock the seamless gaming potential today.
Frequently Asked Questions
Can I use a wired PlayStation controller on the Switch?
Yes, if you have the right USB-C or USB-A adapter, a wired PlayStation controller can connect to the Switch. Ensure the adapter supports cross-platform functionality.
Do I need an adapter to connect a PlayStation controller to the Switch?
Yes, a Bluetooth or USB adapter is necessary to facilitate cross-platform connectivity between PlayStation controllers and the Switch.
How do I fix my controller not pairing with the Switch?
Try resetting your PlayStation controller by pressing the reset button near the L2 button with a pin. Check your Switch’s Bluetooth settings for compatibility with third-party devices and update your system.