Introduction
Photography enthusiasts often seek the captivating bokeh effect to enhance the depth and artistry of their images. With the iPhone’s cutting-edge camera technology, capturing this effect has become simpler and more accessible. This comprehensive guide will explore how to effectively master the bokeh effect on iPhones, focusing on techniques suited to the latest models in 2024. Whether you’re a photography novice or a seasoned professional, these insights are designed to enhance your skills and creativity.
Understanding the Bokeh Effect
The bokeh effect refers to the pleasing blur found in the out-of-focus areas of an image, drawing the viewer’s attention to the subject by artfully softening the background. Rooted in the Japanese term ‘boke’, which means ‘blur’ or ‘haze’, bokeh gives your images a creative edge by separating the subject from the background, creating depth and dimension.
It’s not just about blurring; it’s the harmonious blend of light and focus that defines a beautiful bokeh. The quality of bokeh is often determined by a camera lens’s design and aperture shape, which affect how the light is rendered in the background.

The Evolution of Bokeh in Recent iPhone Models
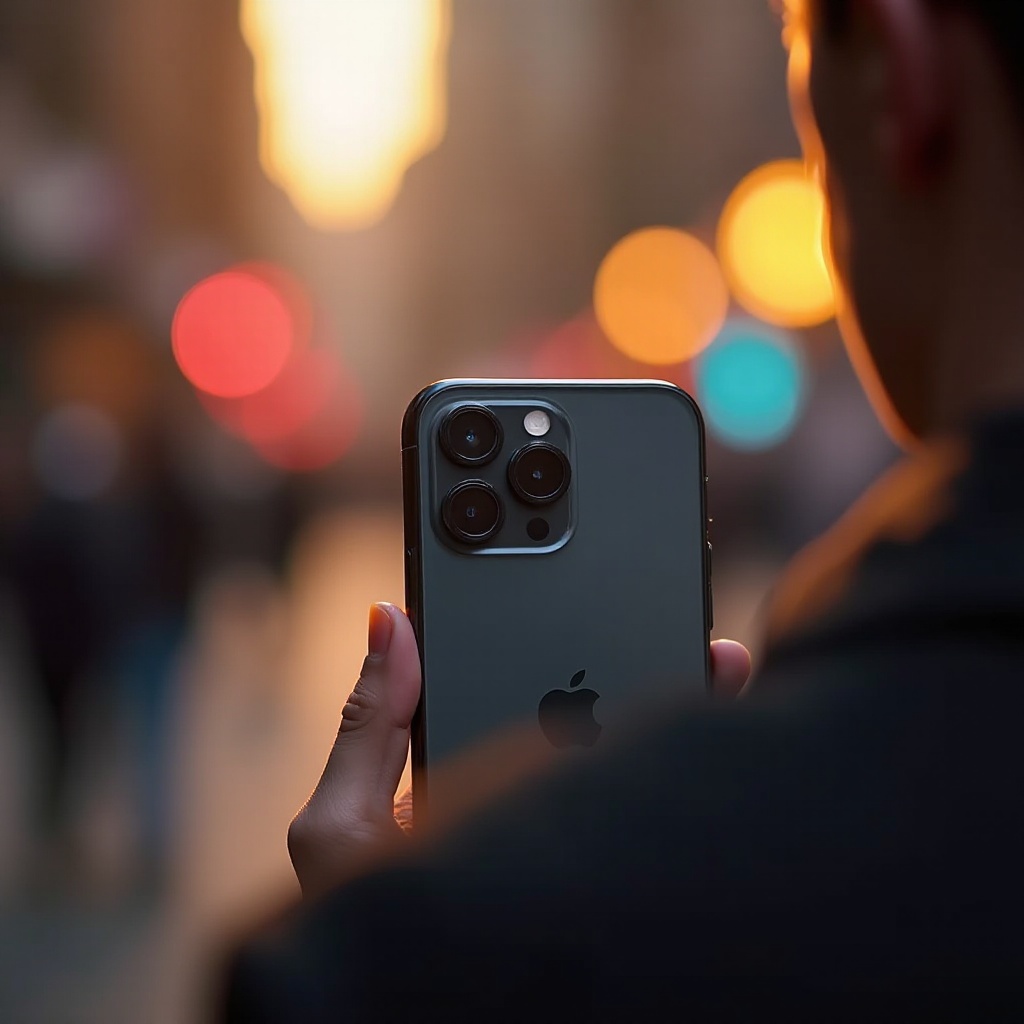
Apple has continuously pushed the boundaries of its iPhone cameras, enhancing features that make achieving the bokeh effect more intuitive and visually appealing. Since the launch of Portrait Mode, iPhones have improved in their ability to distinguish between the subject and background, thanks to advanced hardware and software capabilities.
Models like the iPhone 14 and more recent versions use sophisticated AI and machine learning technology to enhance the bokeh experience. This results in precise edge detection and a more refined transition between the subject and its background, allowing users to create dramatic portraits effortlessly.
Step-by-Step Guide to Achieving the Bokeh Effect
Creating the bokeh effect on your iPhone is easier than you might think. Follow these steps to elevate your photography:
- Setting Up Your iPhone Camera:
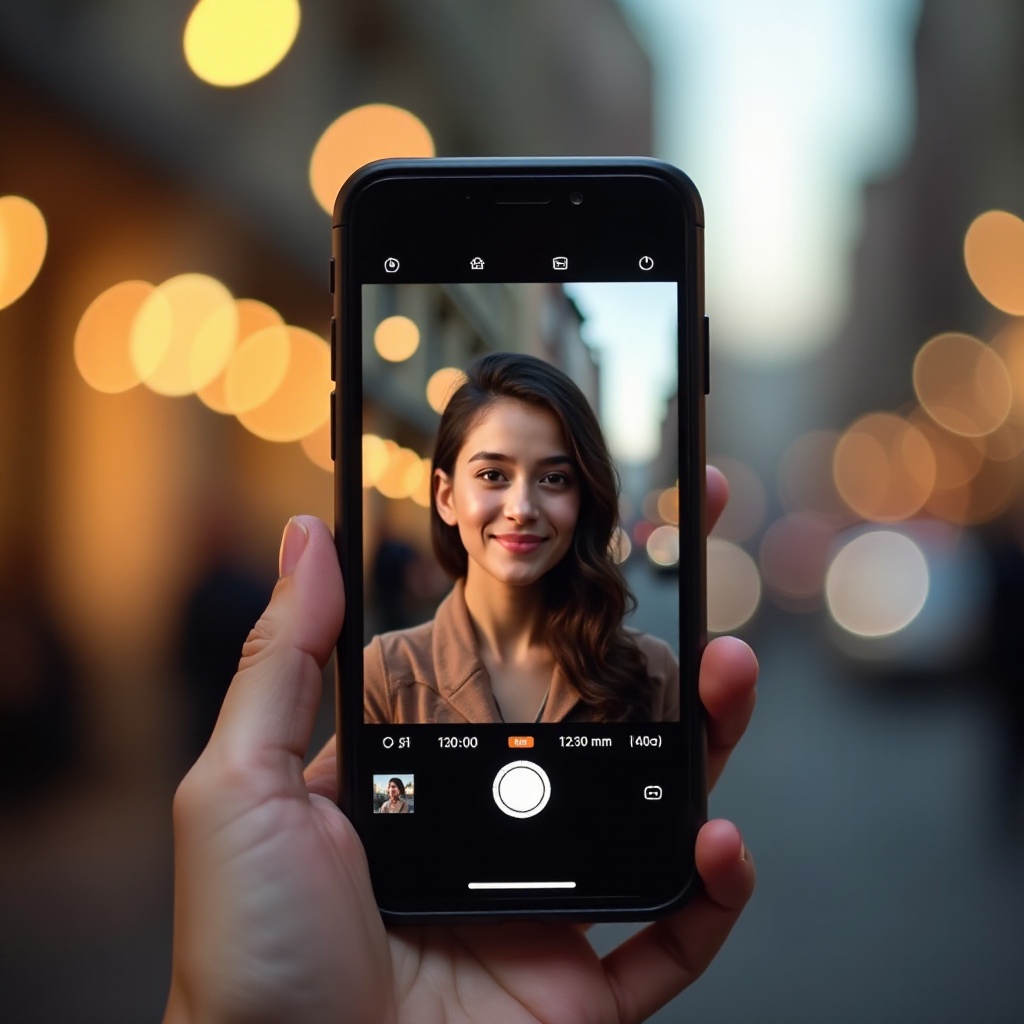
- Open the Camera app and switch to Portrait mode, which is designed to create a bokeh effect automatically.
-
Ensure good lighting to boost the quality of both the bokeh and subject clarity.
-
Adjusting Focus and Depth Control:
- Tap your subject on the screen to ensure it remains sharp while the background blurs naturally.
-
For models with depth control, adjust the slider to fine-tune the level of background blur to your liking.
-
Playing with Lighting and Backgrounds:
- Experiment with various lighting conditions and backgrounds to impact the bokeh’s aesthetic quality. Strong contrast can yield interesting bokeh highlights.
- Moving closer to your subject can enhance the bokeh effect, making the subject pop more against the softened background.
Using these steps, you can produce portraits that exhibit a professional finish and striking impact.
Advanced Techniques for Bokeh Photography on iPhone
Enhance your bokeh photography skills further with these advanced methods:
-
Utilizing Third-Party Apps:
Apps such as Halide and Camera+ offer manual controls for aperture and focus, providing more capacity to customize your photos.
-
Manual vs. Automated Settings:
While Portrait mode automates many settings for ease, manual adjustments provide more creative freedom. By tweaking focus points or adjusting exposure manually, you can gain greater control over your image’s depth and subtle nuances.
These advanced techniques can significantly enhance the creative quality and precision of your iPhone photography.
Editing Bokeh Photos on Your iPhone
Refining your bokeh images through post-processing can drastically improve their quality and visual appeal. Here are some tips:
-
Enhance and Adjust Bokeh Intensity:
Use editing apps like Adobe Lightroom or VSCO to adjust the intensity of the bokeh, allowing you to create a mood that suits your vision.
-
Tweak Exposure and Color Balance:
Modify exposure settings and color balance to ensure your subject stands out distinctly against the blurred background.
By applying these editing techniques, your photos can attain a polished, professional look, ready to impress and share.
Conclusion
By mastering the bokeh effect with your iPhone, you add a new layer of depth and artistry to your photography repertoire. With Apple’s latest innovations, strategic steps, and a touch of creativity, you can produce captivating and visually compelling images. Embrace the technology, explore its potential, and let your photographic creativity shine through every shot.
Frequently Asked Questions
What is the best iPhone model for bokeh photography in 2024?
The latest iPhone models, such as the iPhone 14 and newer, offer superior bokeh quality thanks to advanced sensors and AI-driven technology.
How can I enhance the bokeh effect on my iPhone photos?
Use Portrait mode, adjust depth control, and try third-party apps for greater customization and enhanced bokeh effects.
Are there any recommended apps for bokeh photography on the iPhone?
Yes, apps like Halide and Camera+ provide advanced manual controls for better manipulation of the bokeh effect.