Introduction
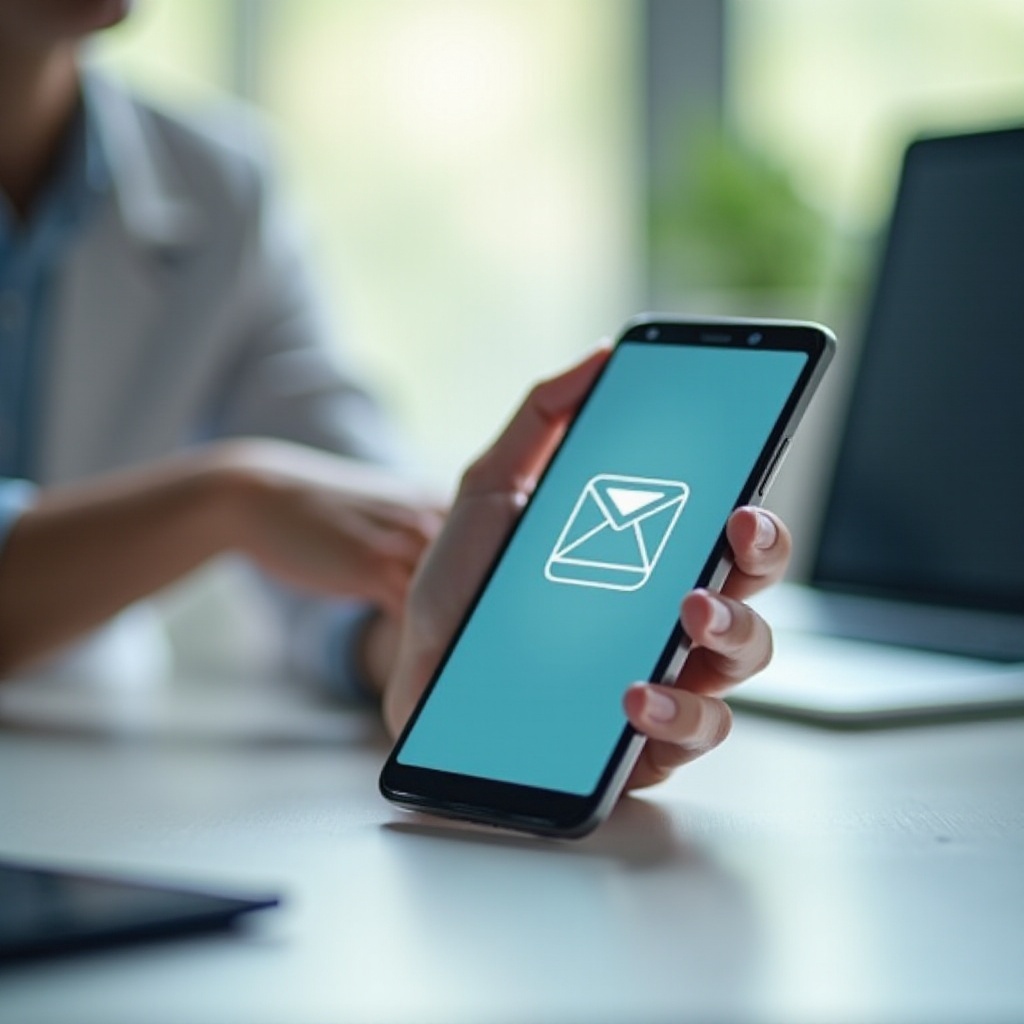
Syncing your email on an Android device provides seamless access to your messages, ensuring productivity on the go. Whether using Gmail, Outlook, or another client, proper synchronization is essential for effective communication. This comprehensive guide walks through each step, so you can efficiently manage your email accounts on any Android device.
Understanding Email Synchronization
Email synchronization means that your emails are up-to-date across all devices. It ensures that actions like reading, deleting, or moving messages are reflected on your Android device and the email server. Understanding this process helps you make the most of your mobile email experience, keeping your communication consistent and uninterrupted. This foundational knowledge sets you up for successful email management on your device.
Preparing Your Android Device for Sync
Preparation is crucial before diving into synchronization. Ensure your Android device is connected to a robust internet connection, as sync issues often arise from connectivity problems. It’s also important to check your Android OS version—updates can provide new features and security enhancements, improving overall sync efficiency. With this groundwork, you can seamlessly proceed to setting up your email accounts.

Step-by-Step Guide to Sync Email on Android
A smooth email experience on Android involves following a clear setup process. Let’s explore specific steps for different email platforms:
– Syncing Email Using Gmail:
1. Open the Gmail app.
2. Navigate to Settings and select your email account.
3. Confirm that ‘Sync Gmail’ is enabled for automatic synchronization.
– Syncing Email Using Outlook:
4. Install the Outlook app from the Play Store.
5. Enter your email credentials to add an account.
6. Access settings to fine-tune synchronization preferences.
– Syncing Email with Other Clients:
7. Download the desired email app.
8. Follow on-screen instructions to add your email account.
9. Complete any additional configuration required by the app.
– Manual Configuration for IMAP/POP Accounts:
10. Access Android Settings, choose ‘Add account’.
11. Enter your server details, including IMAP/POP configurations.
12. Save the configurations to finalize synchronization.
Navigating these steps ensures your emails are consistently in sync, allowing effortless access and management across different clients.
Customizing Your Sync Settings
Customization allows for optimal email management, adhering to your personal and professional needs. Modify these settings to enhance your sync functionality:
– Adjusting Sync Frequency: Determine optimal intervals (every 15 minutes, hourly, etc.) for checking new emails based on usage patterns.
– Managing Data Usage: Opt for Wi-Fi-only syncing to reduce unnecessary mobile data consumption.
– Notifications and Alerts: Personalize alerts for priority contacts while managing distractions from less critical emails.
– Syncing Specific Folders Only: Focus sync on essential folders to conserve data and maintain a streamlined inbox.
Tailoring your settings ensures efficient use of resources, aligning with your daily email demands.
Troubleshooting Common Sync Issues
Even with proper setup, sync challenges occur. Address these problems to maintain optimal performance:
1. Verify Internet Connectivity: Confirm active network access, which is vital for constant synchronization.
2. Refresh the Inbox: Manually update to push through lingering emails.
3. Clear Cache Data: Remove temporary data from the email app to resolve function delays.
4. Keep Apps Updated: Regularly check for updates, reinstall any malfunctioning email applications.
Resolving these issues restores smooth email functionality, crucial to maintaining effective communication.
Keeping Your Email Secure
Secure email synchronization protects against unauthorized access and data threats. Implement these practices for safety:
– Enable Two-Factor Authentication: Add an extra security layer beyond passwords, safeguarding your accounts.
– Adopt Strong Passwords: Use unique, complex passwords, regularly updated to deter breaches.
– Monitor Account Sessions: Regularly check and manage authorized device access from your email settings.
These strategies ensure your data remains confidential while enjoying the benefits of synchronized email on Android devices.
Conclusion
Efficiently syncing your email on Android enhances accessibility and streamlines communication. By following this guide, you set your device for smart email management. Whether configuring for initial setup or troubleshooting issues, the outlined steps empower you to control your email flow effortlessly, promoting a more productive and connected experience.
Frequently Asked Questions
Why isn’t my email syncing automatically?
Automatic sync issues often result from connectivity problems, outdated apps, or incorrect account settings. Verify your network and ensure your sync settings are properly configured.
How often should I sync my email?
Sync frequency depends on your needs. Frequent syncing is ideal for receiving messages in real-time, while less frequent syncing can conserve battery life.
Can I sync multiple email accounts on Android?
Yes, Android supports syncing multiple email accounts across various apps, allowing efficient management of personal and professional communications.